Picture this: the clock is ticking, your inbox is full, and the only thing on your mind is a comforting dinner that feels like a hug. I was in that exact spot last night, scrolling through recipes until I stumbled upon a photo of golden, melty tuna melts that looked like they were calling my name. The first thing that hit me was the promise of a crispy edge, a gooey center, and a flavor explosion that would make even the most skeptical foodie swoon. I dared myself to try it, and let me tell you, I didn't just finish the plate—I went back for seconds, then thirds, and ended up with a tiny disaster of a kitchen.
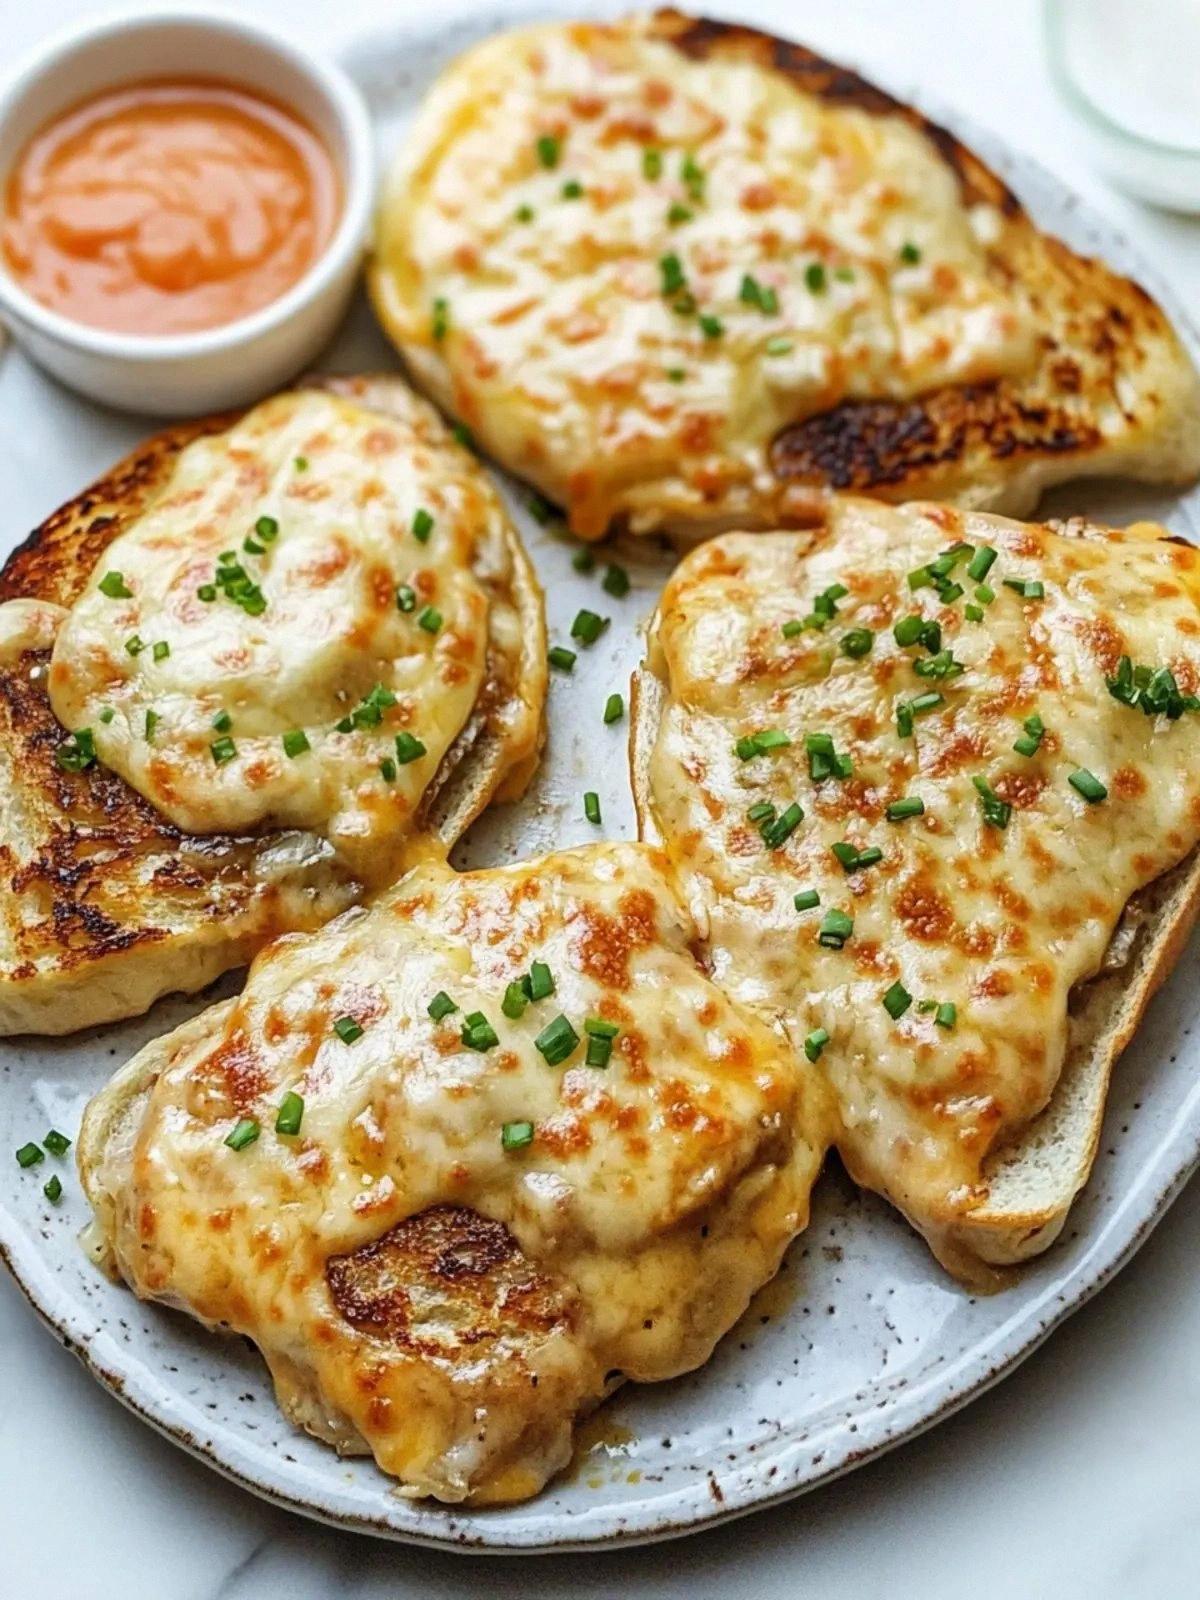
From the moment I lifted the tray, the aroma of toasted bread mingled with the tang of pickles and the sharp scent of sharp cheddar. My eyes widened at the golden crust, while the sound of the first bite was a satisfying crunch that echoed like applause in a quiet kitchen. The texture was a perfect contrast: a soft, doughy base that surrendered to the molten cheese, and a burst of fresh vegetables that added a bright, almost citrusy bite. I could taste the subtle sweetness of honey, the subtle heat from cayenne, and the comforting warmth of olive oil. It was a symphony of flavors that danced on my tongue and left me craving more.
What sets this version apart from the countless tuna melt recipes out there is the secret sauce—literally a sauce that coats the dough like velvet while keeping the crust crisp. I discovered that using patent flour, a flour that holds its structure better, gives the base a light, airy feel that doesn’t become soggy when the cheese melts. The mix of two cheeses, Gouda for its buttery smoothness and sharp cheddar for its bold bite, creates a flavor profile that feels both indulgent and surprisingly balanced. The addition of diced pickles and corn introduces a crunchy texture that contrasts the gooeyness, while the diced red onion and bell pepper add a fresh, slightly sweet pop. The final touch? A drizzle of honey that caramelizes slightly in the oven, giving the top a subtle sheen that’s almost impossible to resist.
I’m not going to sugarcoat it—my first attempt almost turned into a disaster when the dough didn’t rise properly and the cheese stuck to the pan. That experience taught me the importance of precision, especially when working with a dough that’s meant to hold a hefty filling. But after tweaking the water temperature, adding a pinch of baking powder, and letting the dough rest for a few minutes, the results were nothing short of miraculous. I was so proud that I decided to share every single step, every hack, and every warning so that you can avoid the same pitfalls. By the end of this guide, you’ll wonder how you ever made it any other way.
Ready to dive into the ultimate cheesy tuna melt? I’ll walk you through the dough, the filling, the assembly, and the baking, with a few surprise twists that elevate the dish from simple comfort food to culinary fireworks. If you’re hungry for a dish that’s quick, crowd‑pleasing, and ridiculously flavorful, you’re in the right place. Let’s get started and turn an ordinary night into a memorable feast.
What Makes This Version Stand Out
- Taste: The combination of sweet honey, tangy pickles, and smoky cheddar creates a flavor profile that lingers on the palate. It’s a dance of sweet, salty, and savory that keeps you reaching for more.
- Texture: A light, airy dough gives way to a molten cheese center while the crunchy corn and diced vegetables add bite. The result is a satisfying contrast that feels like a well‑executed symphony.
- Simplicity: With only fifteen ingredients, the recipe stays approachable yet delivers maximum flavor. Even beginners can master the dough and assembly in under an hour.
- Uniqueness: Using patent flour and a honey glaze sets this melt apart from the usual tuna melt crowd. The subtle heat from cayenne gives it a gentle kick that isn’t overpowering.
- Crowd Reaction: Friends rave about the gooey center and the crisp crust. It’s a showstopper that turns any gathering into a memorable event.
- Ingredient Quality: Fresh, high‑quality tuna and real cheeses elevate the dish to gourmet status while keeping it affordable.
- Cooking Method: The dough is rolled thin, baked until golden, and then topped with the tuna mixture before a quick second bake. This two‑step process locks in flavor and texture.
- Make‑Ahead Potential: Assemble the melts ahead of time and refrigerate. When you’re ready to serve, pop them in the oven for a quick finish.
Inside the Ingredient List
The Flavor Base
Patent flour is the backbone of this recipe, providing a neutral canvas that absorbs the flavors of the tuna and cheeses without becoming soggy. Its fine texture allows the dough to rise evenly, creating a light crumb that’s a pleasure to bite into. If you can’t find patent flour, try a 100% bread flour for a slightly chewier result.
The Texture Crew
The diced pickles, corn, red onion, and bell pepper bring a burst of crunch that keeps each bite interesting. The honey adds a subtle caramelized sweetness that balances the sharpness of the cheddar. If you prefer a sweeter version, swap the honey for maple syrup; the result is a delightful twist.
The Unexpected Star
Canned tuna in sunflower oil is a game changer. The oil keeps the tuna moist and adds a subtle nutty flavor that elevates the dish. For a healthier option, use tuna packed in water and add a splash of olive oil during mixing.
The Final Flourish
The grated Gouda and cheddar blend gives a complex cheese profile that’s both creamy and sharp. The sliced cheese on top creates a golden, bubbly crust that’s impossible to resist. If you’re feeling adventurous, add a pinch of smoked paprika to the cheese for a smoky undertone.
Everything's prepped? Good. Let's get into the real action...
The Method — Step by Step
- Preheat your oven to 200°C (390°F) and line two baking sheets with parchment paper. Let the sheets rest on the rack while you work on the dough so everything is ready when you’re done. This preheat ensures a crisp crust from the very first bite. If you’re in a rush, use a convection setting for a faster bake.
- In a large bowl, whisk together the patent flour, olive oil, honey, and salt. Stir until the mixture forms a shaggy dough that pulls away from the sides. This is the foundation that will carry the tuna mixture; don’t skip this step, it’s where the magic begins.
- Add the water gradually, stirring until a cohesive dough forms. If the dough feels too dry, add a splash more water; if it’s too sticky, dust with a bit more flour. Let the dough rest for 10 minutes while you prepare the filling.
- Divide the dough into eight equal portions and roll each into a 6-inch circle on a lightly floured surface. The dough should be thin enough to toast quickly but thick enough to hold the filling. Use a rolling pin with a smooth surface to avoid tearing.
- In a bowl, combine the drained tuna, mayonnaise, cayenne pepper, Italian herbs, diced pickles, red onion, bell pepper, and corn. Mix until the tuna is evenly coated and the veggies are distributed. This mixture should be moist but not runny; add a teaspoon of water if it feels too thick.
- Spoon a generous amount of the tuna mixture onto each dough circle, leaving a small border. Sprinkle the grated Gouda and cheddar over the filling, then top with a slice of cheese. Arrange the prepared melts on the parchment‑lined baking sheets, leaving space between each.
- Bake for 18–20 minutes, or until the edges are golden brown and the cheese on top is bubbling. The crust should sound hollow when tapped, indicating it’s fully cooked. Keep a close eye on the cheese to prevent over‑browning; if it starts to turn dark, cover loosely with foil.
- Remove from the oven and let the melts cool for 3 minutes before serving. This short rest allows the cheese to set slightly, making them easier to eat without burning your tongue. Sprinkle fresh herbs or a drizzle of olive oil for an extra pop of flavor.
That's it — you did it. But hold on, I've got a few more tricks that'll take this to another level...
Insider Tricks for Flawless Results
The Temperature Rule Nobody Follows
Many people bake at the lowest setting to avoid burning, but that actually prolongs cooking time and can lead to soggy edges. Bake at a steady 200°C (390°F) and keep a close eye on the crust. The heat will crisp the edges while the cheese melts evenly, giving you that coveted golden finish.
Why Your Nose Knows Best
The first scent you catch when the cheese starts to melt is a cue that your melts are nearly done. A buttery aroma signals that the cheese has reached the perfect gooey consistency. Trust your nose and pull them out before the edges burn.
The 5‑Minute Rest That Changes Everything
Letting the melts sit for five minutes after baking allows the cheese to set, preventing it from sliding off the dough. This short pause also lets the flavors meld, creating a harmonious bite that’s more satisfying.
The Secret to a Crispy Crust
Sprinkle a tiny pinch of cornmeal on the dough before baking; it creates a subtle crunch and prevents sticking. The cornmeal also absorbs excess moisture, keeping the crust crisp even after the cheese has melted.
How to Keep the Filling From Slipping
Press the tuna mixture gently into the dough to create a seal. If you’re worried about leaks, place a small slice of cheese on top of the tuna before adding the final cheese layer; it acts as a barrier.
The Final Touch That Elevates Flavor
A quick drizzle of aged balsamic vinegar right before serving adds a sweet, tangy finish that cuts through the richness. It’s a simple step that transforms a great melt into a memorable dish.
Creative Twists and Variations
This recipe is a playground. Here are some of my favorite ways to switch things up:
Spicy Jalapeño Tuna Melt
Add diced jalapeños and a splash of hot sauce to the tuna mixture for an extra kick. The heat balances the creamy cheese, making each bite exciting. This version is perfect for those who like a little fire in their meals.
Mediterranean Veggie Tuna Melt
Swap the corn for sun-dried tomatoes and add chopped olives to the filling. The briny flavors pair wonderfully with the tuna, creating a Mediterranean-inspired twist. Serve with a side of tzatziki for an authentic feel.
BBQ Chicken Tuna Melt
Replace the tuna with shredded rotisserie chicken and stir in a tablespoon of BBQ sauce. The smoky sweetness of the sauce elevates the dish, while the chicken adds protein and a hearty texture. This is a crowd-pleaser for family gatherings.
Vegan Cheddar‑Only Melt
Use a plant-based tuna alternative and vegan cheddar for a dairy-free version. The plant-based mayo keeps the mixture moist, while the vegan cheese melts beautifully. It’s a guilt-free comfort food that still satisfies.
Breakfast Tuna Melt with Egg
Add a fried or poached egg on top of each melt before baking. The runny yolk creates a luxurious sauce that pairs with the cheesy base. Serve with toast for a hearty breakfast that feels like a brunch.
Sweet & Savory Apple Tuna Melt
Dice a small apple and mix it into the tuna filling for a sweet contrast. The apple’s natural sugars caramelize slightly in the oven, adding a delightful crunch. This version is a surprising twist that delights the palate.
Storing and Bringing It Back to Life
Fridge Storage
Store leftovers in an airtight container in the refrigerator for up to 3 days. The cheese may firm up slightly, so let them sit at room temperature for 10 minutes before serving. Keep the crust separate if you prefer a crisp bite.
Freezer Friendly
Wrap each melt individually in plastic wrap and place them in a freezer bag. They’ll keep for up to 2 months. When you’re ready to eat, thaw overnight in the fridge before reheating.
Best Reheating Method
Reheat in a preheated oven at 180°C (350°F) for 8–10 minutes until the cheese is melted again. Add a splash of water to the bottom of the pan to create steam; this keeps the crust from drying out. Serve immediately for the best texture.