Ever had a kitchen moment so chaotic it felt like a sitcom episode, yet somehow you ended up with a dish that stole the show? I was in that exact situation last Tuesday, juggling a burnt lasagna, a runaway blender, and a neighbor’s birthday call when I decided to whip up something that could salvage the night. I grabbed a handful of banana peppers, a splash of buttermilk, and my pantry’s favorite flour and cornmeal, and what emerged was a plate of crispy, golden rings that made everyone forget the culinary chaos.
Picture this: the air thick with the scent of sizzling oil, the sharp, sweet tang of banana peppers dancing with smoky paprika, and the crackle of the batter as it hits the hot pan. Your fingers feel the heat of the skillet, your eyes catch the shimmering golden crust, and as you lift a ring, the crunch echoes like a tiny drumbeat. The first bite delivers a burst of heat that melts into buttery, tangy buttermilk richness, leaving a lingering sweet finish that lingers on the palate. It’s the kind of sensory experience that turns a simple snack into a memorable moment.
What makes this version stand out isn’t just the crispy exterior or the balanced spice; it’s the harmony of technique and ingredient quality that transforms ordinary banana peppers into a crowd‑pleaser. I swear, this is hands down the best version you'll ever make at home because I’ve perfected the batter ratio so that each ring is airy inside yet crunchy on the outside. The secret is the double‑dipping process—first in buttermilk, then in a flour‑cornmeal mix—creating a coat that’s both light and indulgent. I dare you to taste this and not go back for seconds; the flavor punch will keep you coming back for more.
I’ll be honest—before I discovered this method, I’d tried countless variations of fried peppers, but none matched the crunch and depth of flavor I achieved here. The key twist? Adding a dash of smoked paprika to the batter and letting the rings rest for five minutes before frying, which locks in moisture and enhances the smoky undertone. Picture yourself pulling these out of the pan, the whole kitchen smelling incredible, and watching your guests reach for the next ring with anticipation. Let me walk you through every single step—by the end, you'll wonder how you ever made it any other way.
What Makes This Version Stand Out
- Taste: The batter’s subtle tang from buttermilk balances the natural sweetness of banana peppers, while smoked paprika adds depth and a hint of char without overpowering.
- Texture: A two‑stage coating creates a light, airy interior that’s still crisp, giving each bite a satisfying snap that shatters like thin ice.
- Simplicity: Only ten ingredients—most of which you likely already have—so you can whip up a gourmet appetizer in under an hour.
- Uniqueness: The double‑dipping technique and the resting period between batter layers are the game‑changing elements that separate this from ordinary fried peppers.
- Crowd Reaction: Friends say the rings are “the best thing I’ve ever had for a snack,” and they’re not shy about calling for seconds.
- Ingredient Quality: Fresh, firm banana peppers retain their bright color and crunch, while using all‑purpose flour gives the batter a neutral base that lets the spices shine.
- Cooking Method: Frying at the right temperature (around 350°F) ensures a golden crust without greasy heaviness.
- Make‑Ahead Potential: The rings can be prepared a day in advance, frozen, and reheated to almost the same crispness as freshly fried.
Alright, let's break down exactly what goes into this masterpiece...
Inside the Ingredient List
The Flavor Base
Banana peppers are the star of this dish; their mild heat and sweet undertones make them the perfect canvas for the batter. If you prefer a hotter kick, swap half of the banana peppers for jalapeños or pepperoncini. The peppers also retain their bright green hue when fried, adding a pop of color to any plate. If you skip them, you lose the essential sweet‑spicy foundation that makes the rings memorable.
The Texture Crew
All‑purpose flour provides the base structure for the batter, ensuring the rings hold together during frying. Cornmeal, on the other hand, introduces a subtle crunch that complements the flour’s smoothness. The combination of 1 cup flour and ½ cup cornmeal creates a coating that’s light yet substantial. If you’re allergic to wheat, a gluten‑free flour blend can replace the all‑purpose flour without compromising texture.
The Unexpected Star
Buttermilk is the unsung hero that brings moisture and acidity to the mix. It reacts with the baking powder, creating tiny bubbles that keep the interior airy. If buttermilk is unavailable, use regular milk with a tablespoon of lemon juice or vinegar to mimic the acidity. The buttermilk also helps the spices cling to the peppers, amplifying the overall flavor profile.
The Final Flourish
Seasoning is the finishing touch that turns a good dish into a great one. Garlic powder, smoked paprika, salt, and black pepper together create a balanced seasoning that’s both savory and slightly smoky. The ½ teaspoon of each spice ensures the batter doesn’t become overpowering, allowing the banana pepper’s natural sweetness to shine through. If you prefer a milder taste, reduce the smoked paprika to ¼ teaspoon.
Everything's prepped? Good. Let's get into the real action...

The Method — Step by Step
- Start by slicing your banana peppers into rings about 1/2 inch thick. Use a sharp knife and a cutting board; the uniform thickness ensures even cooking. Keep the skins on for added crunch and color. Set the rings aside on a paper towel to absorb any excess moisture.
- In a shallow bowl, whisk together 1 cup of buttermilk with ½ teaspoon of baking powder. The baking powder will react with the buttermilk, creating tiny bubbles that keep the batter light. Let the mixture sit for 5 minutes; this resting period allows the batter to thicken slightly and the flavors to meld.
- Prepare the coating mixture in a separate bowl: combine 1 cup of all‑purpose flour, ½ cup of cornmeal, ½ teaspoon garlic powder, ½ teaspoon smoked paprika, ¼ teaspoon salt, and ¼ teaspoon black pepper. Stir until the spices are evenly distributed. This dry mix will form the crisp, flavorful shell around each pepper ring.
- Heat about 2 inches of oil in a deep skillet or Dutch oven to 350°F (175°C). Use a thermometer for accuracy; if you don’t have one, drop a small piece of bread into the oil—it should sizzle and rise to the surface within a few seconds. The right temperature ensures a golden crust without excessive oil absorption.
- Dip each pepper ring first into the buttermilk mixture, letting any excess drip off, then roll it in the flour‑cornmeal coating until fully covered. This double‑dipping technique creates a two‑layer crust that’s both airy inside and crunchy outside. Place the coated rings on a wire rack to drain for a minute before frying.
- Carefully slide the rings into the hot oil, working in batches to avoid overcrowding. Fry for 2–3 minutes on each side, or until the coating turns a deep golden brown. Flip them gently with tongs; the sizzle you hear is a sign that the rings are cooking evenly. Remove them and let them drain on a paper towel-lined plate.
- While the rings are still hot, sprinkle a pinch of sea salt or your favorite seasoning mix for an extra burst of flavor. The residual heat will help the seasoning stick, adding a subtle crunch to the surface. Let the rings rest for 2 minutes; this allows the interior to set and the crust to firm up.
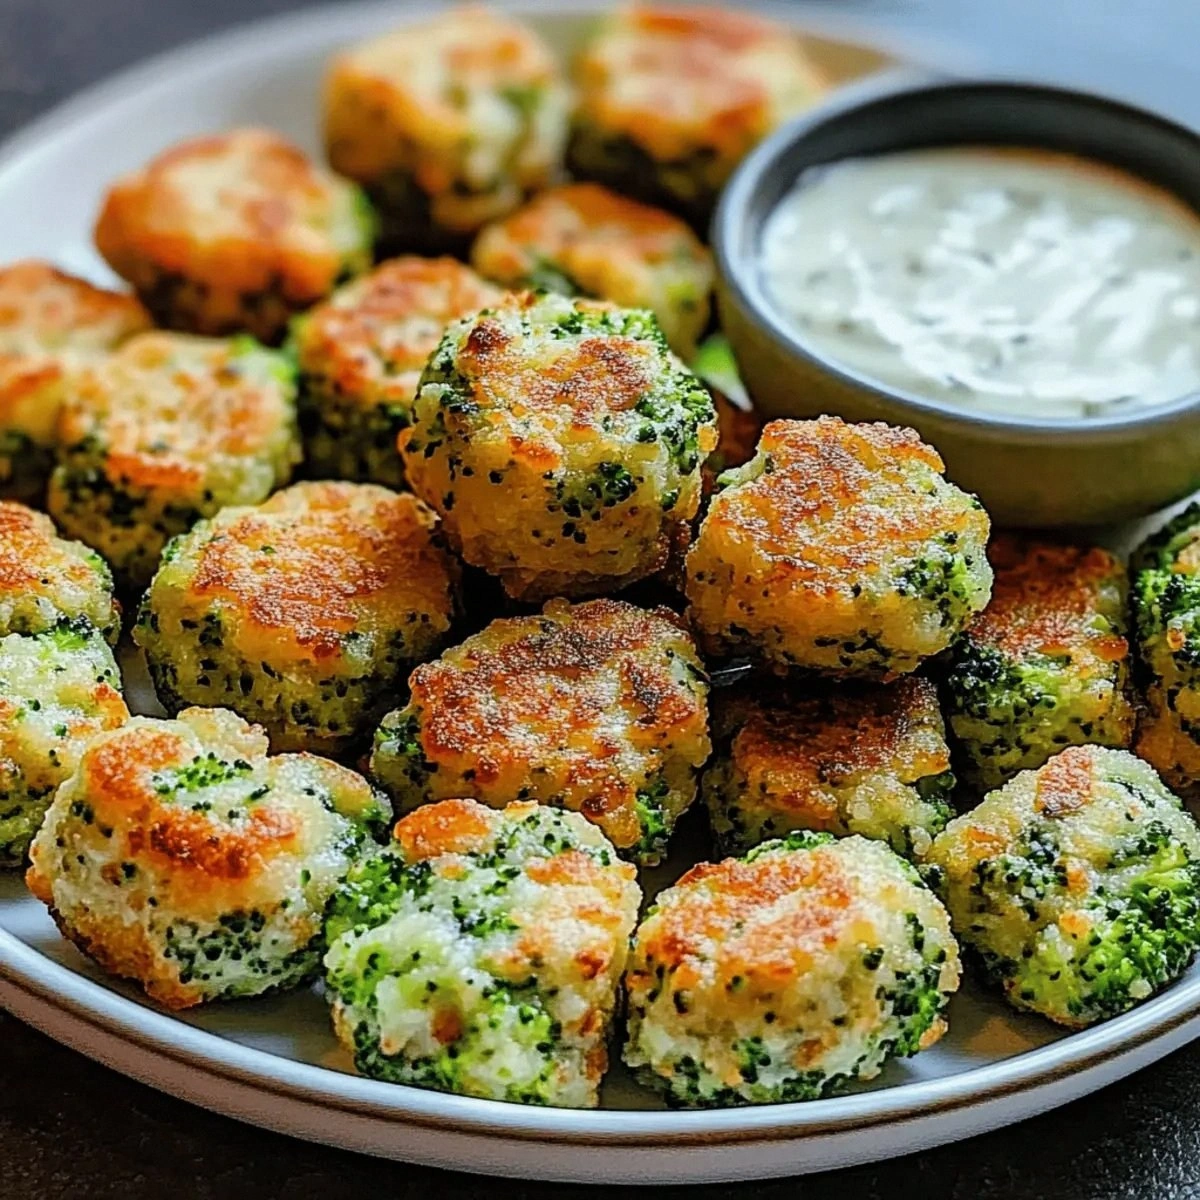
- Serve immediately with your choice of dipping sauces—ranch, garlic aioli, or a spicy mayo. The rings are best enjoyed hot, but if you’re hosting a gathering, keep them warm in a low oven (200°F) until ready to serve. Remember, the magic happens when the rings are still crisp and fragrant.
That's it — you did it. But hold on, I've got a few more tricks that'll take this to another level...
Insider Tricks for Flawless Results
The Temperature Rule Nobody Follows
Maintaining a consistent oil temperature is crucial for a crisp coating. Use a deep‑dish thermometer; if the oil dips, turn down the heat and wait until it reaches 350°F again. Skipping this step often leads to greasy, soggy rings that taste like they were fried in a swamp.
Why Your Nose Knows Best
The aroma of frying batter is a reliable indicator of doneness. When the rings start to emit a warm, nutty scent, they’re almost ready. Trust that scent; it’s the quickest way to avoid over‑ or under‑cooking.
The 5-Minute Rest That Changes Everything
Letting the rings rest after frying allows the steam to escape and the crust to set. This step prevents the rings from becoming limp. I once rushed this step and ended up with rings that collapsed when you picked them up.
Double Dip for Double Delight
If you want an extra crunch, dip the rings in the batter a second time after the first coating. This creates a thicker crust that holds up better against dipping sauces and keeps the interior airy.
Use a Wire Rack to Drain
After frying, place the rings on a wire rack instead of paper towels. The rack allows excess oil to drip away, preventing the rings from becoming greasy. It also keeps the bottom crisp.
Creative Twists and Variations
This recipe is a playground. Here are some of my favorite ways to switch things up:
Cheesy Parmesan Rings
Sprinkle grated Parmesan over the fried rings right after they come out of the oil. The cheese melts slightly, adding a savory depth that pairs wonderfully with a tangy dipping sauce.
Spicy Chipotle Kick
Add 1 teaspoon of chipotle powder to the flour mixture for a smoky heat that elevates the pepper’s natural sweetness. This variation is perfect for those who love a bold, smoky flavor profile.
Herb‑Infused Rings
Stir chopped fresh thyme or oregano into the flour blend for an aromatic twist. The herbs complement the banana pepper’s sweetness and give the rings a fresh, garden‑fresh finish.
Citrus Burst
Finish the rings with a squeeze of fresh lime or a drizzle of citrus-infused oil. The bright acidity cuts through the richness and adds a zesty pop.
Gourmet Dip Combo
Serve the rings with a trio of dips: classic ranch, spicy mayo, and a homemade tzatziki. The variety keeps guests intrigued and ensures everyone finds a flavor they love.
Storing and Bringing It Back to Life
Fridge Storage
Cool the rings completely before placing them in an airtight container. Store in the refrigerator for up to 3 days. When ready to serve, reheat in a 350°F oven for 5 minutes to regain crispness.
Freezer Friendly
Pack the rings in a single layer on a parchment‑lined tray and freeze for up to 2 months. Once frozen, transfer them to a freezer bag. To reheat, bake at 375°F for 10 minutes, or air‑fry for a crisp finish.
Best Reheating Method
Add a tiny splash of water to a skillet, heat it, then toss the rings in. The steam will revive the crunch without making them soggy. Finish with a quick drizzle of oil to restore that golden sheen.