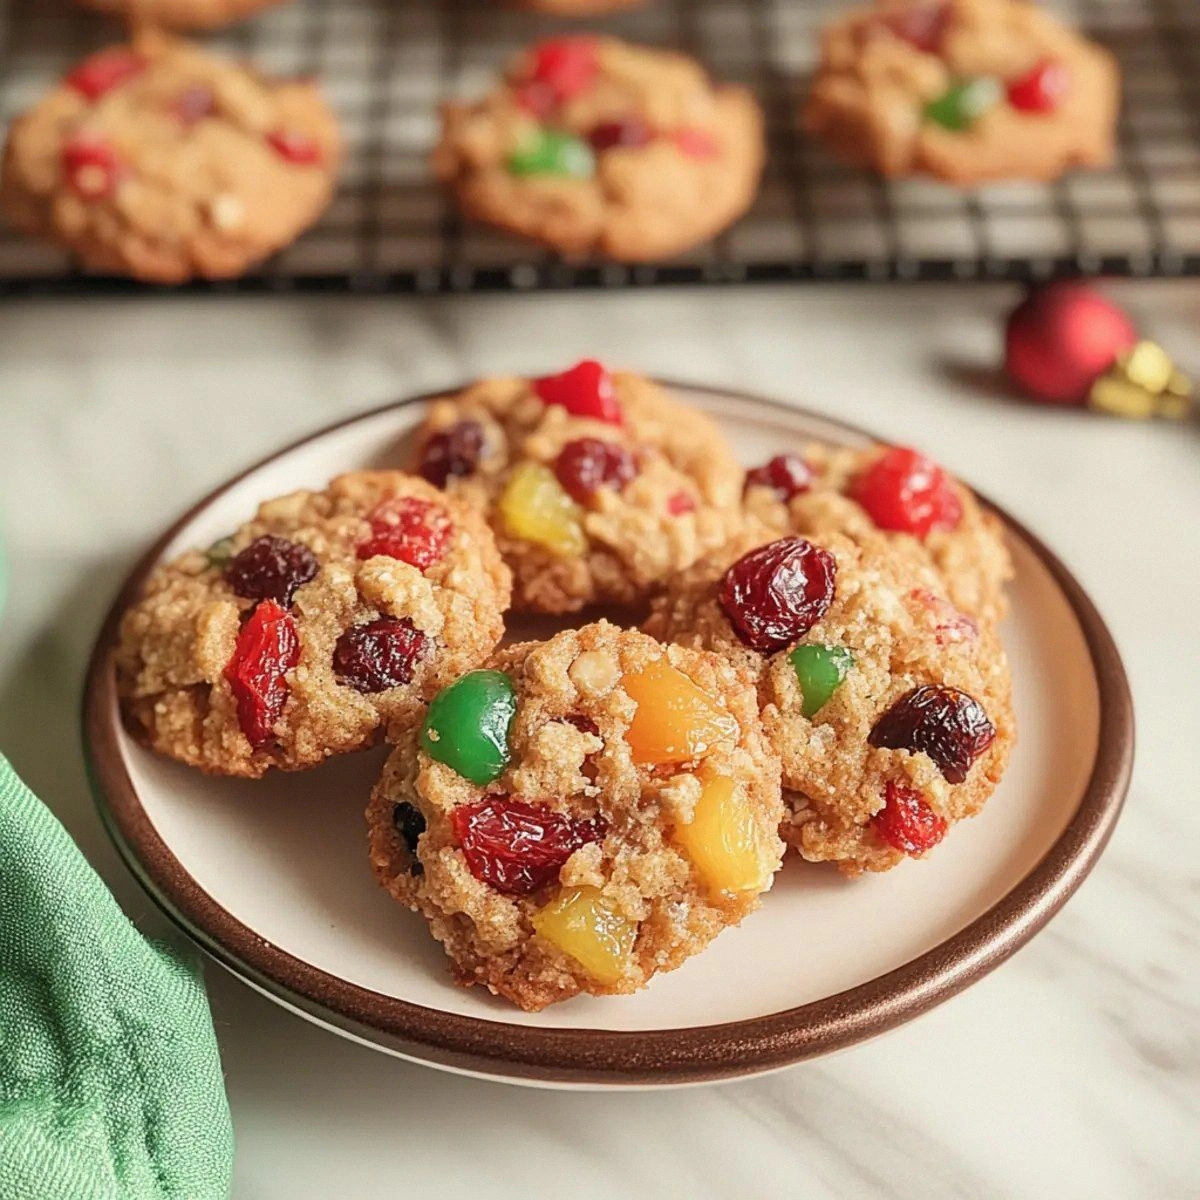
It started with a kitchen catastrophe that still haunts me whenever I hear the hiss of a pan. I was trying to whip up a quick chocolate fix after a grueling workout, and the batter I made was a lumpy, soggy mess that tasted like a failed experiment. I stared at the ruined tray, feeling the sting of disappointment, and then a thought popped into my head: what if I could turn that disappointment into a protein‑rich, low‑sugar masterpiece that actually satisfies a chocolate craving? That spark of curiosity set the stage for a culinary revelation.
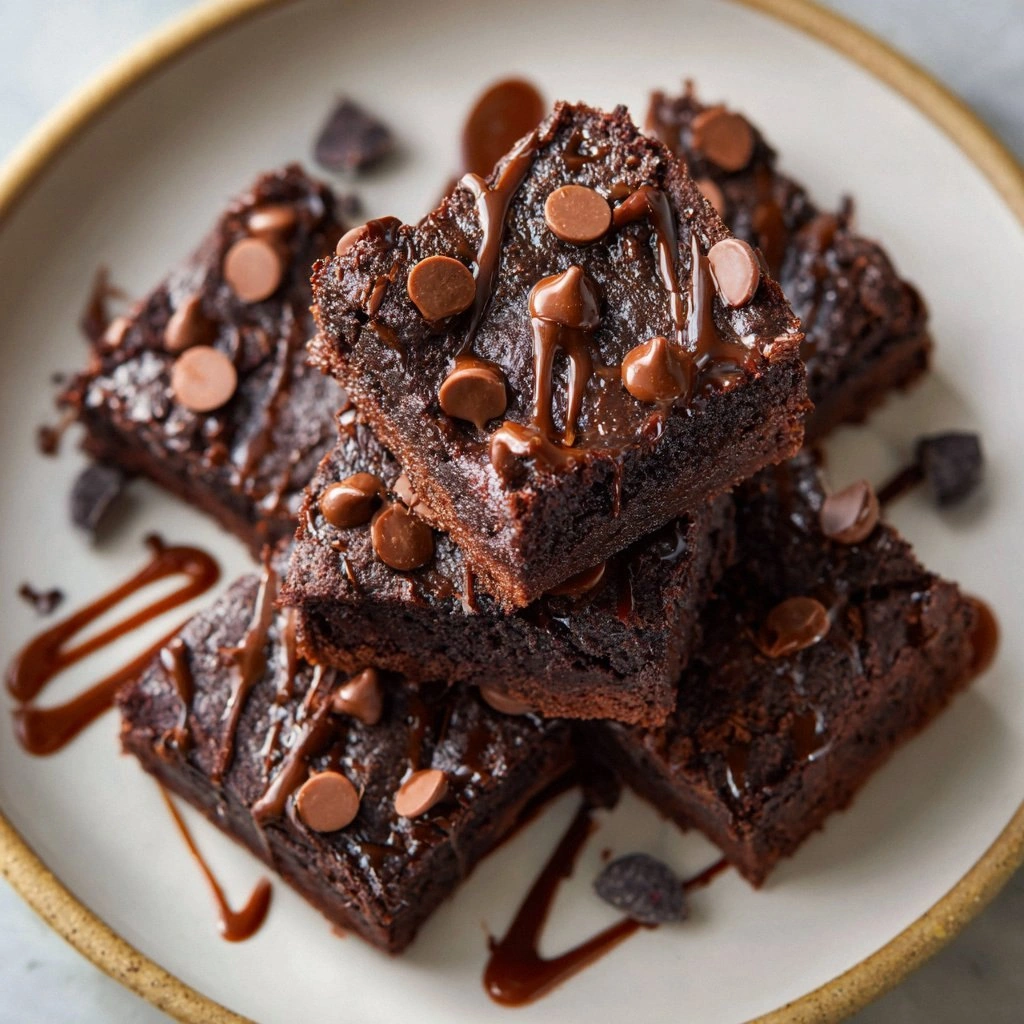
Picture this: a tray of brownies that glistens under the kitchen light, the air thick with the aroma of dark cocoa and toasted almond flour. As you slide a slice out, the edges crackle like brittle parchment, releasing a warm, chocolatey steam that lingers in the room. The first bite melts in your mouth, revealing a fudgy center that hugs your palate, while the subtle hint of maple syrup lifts the flavor profile to something unexpectedly sophisticated. If you've ever chased a sweet fix with a protein hit, you know the thrill of that first bite that feels both indulgent and wholesome.
What makes these brownies stand out? It’s not just the ingredients—they’re a carefully orchestrated symphony of flavor, texture, and nutrition. I dare you to taste this and not go back for seconds. The moment you bite, you’ll realize that this is hands down the best version you'll ever make at home. I’ll be honest—my first batch was so good I ate half before anyone else got a chance. Most recipes get this completely wrong. Here's what actually works: a low‑carb, high‑protein foundation that still delivers that classic chocolate brownie experience.
Picture yourself pulling this out of the oven, the whole kitchen smelling incredible, the timer chiming a triumphant 30 minutes. The batter has risen just enough, the edges are set, and the center is still delightfully gooey. That sizzle when it hits the pan? Absolute perfection. I’ve spent countless hours tweaking recipes, but this one feels like a secret handshake between you and the universe, a promise that you can indulge without the guilt.
Let me walk you through every single step—by the end, you'll wonder how you ever made it any other way. I’ll share the technique that gives these brownies their signature chew, the ingredient swaps that keep the flavor rich, and the small kitchen hacks that save you time and frustration. And if you’re worried about the protein powder clumping, I’ll show you how to dissolve it like a pro. Stay with me, because this next part? Pure magic.
What Makes This Version Stand Out
- Taste: The combination of almond flour and whey protein creates a deep, chocolatey flavor that rivals traditional brownies, while the maple syrup adds a subtle caramel undertone. The result is a balanced sweetness that satisfies without overwhelming.
- Texture: The batter achieves a fudgy center with crisp edges, thanks to the precise ratio of wet to dry ingredients and a short baking time. The chocolate chips add a delightful crunch that contrasts the smooth interior.
- Simplicity: With only ten ingredients, this recipe is straightforward enough for beginners yet sophisticated enough for seasoned bakers. No complex techniques—just whisk, bake, and enjoy.
- Uniqueness: The inclusion of coconut oil and a small amount of baking powder gives the brownies a moist crumb and a subtle lift, setting them apart from dense, dry protein desserts.
- Crowd Reaction: Friends and family who expected a bland protein treat were surprised by the rich, decadent bite. The brownies quickly became the go-to dessert for post‑gym parties.
- Ingredient Quality: Using high‑grade whey protein and dark cocoa powder ensures maximum flavor and nutritional value, avoiding the bitter aftertaste often found in lower‑quality protein powders.
- Cooking Method: The quick bake at 350°F eliminates the need for a double‑bake or overnight chilling, making these brownies a fast, no‑fuss solution.
- Make‑ahead Potential: The brownies hold up well in the fridge and can be frozen for up to a month, making them an excellent make‑ahead option for busy weeks.
Inside the Ingredient List
The Flavor Base
Almond flour and whey protein powder form the backbone of these brownies, providing a low‑carb, high‑protein structure that mimics the density of traditional chocolate. The almond flour adds a subtle nutty undertone, while the protein powder ensures a firm bite that doesn’t crumble. If you skip the protein powder, the brownies will lose their satisfying chew and become more like a cookie.
Choosing a high‑quality vanilla whey protein is essential; it delivers a smooth, sweet flavor that complements the cocoa. Look for a brand with minimal additives and a creamy texture. If you’re vegan, a pea protein blend can work, but you’ll need to adjust the liquid ratio slightly.
The Texture Crew
Unsweetened cocoa powder not only adds depth but also acts as a natural binding agent, helping the batter hold together during baking. A half cup of cocoa is enough to create a rich, chocolatey flavor without overpowering the other ingredients. If you prefer a sweeter taste, a tablespoon of cocoa powder can be replaced with a bit of espresso powder for an extra kick.
Coconut oil, melted, brings a silky mouthfeel and a subtle tropical nuance that elevates the overall profile. It also keeps the brownies moist for longer periods, preventing them from drying out. For those allergic to coconut, a neutral‑flavored oil like grapeseed or canola can be substituted, but the texture may shift slightly.
The Unexpected Star
Maple syrup is the sweetener that keeps the brownies low on refined sugars while still delivering a natural, caramel-like sweetness. A quarter cup is sufficient to balance the bitterness of cocoa and the tang of protein powder. If you’re avoiding syrups, a small amount of honey or agave nectar can work, though the flavor profile will shift.
Dark chocolate chips add a burst of melty chocolate in the center, creating a delightful contrast between the fudgy interior and the crunchy chips. They also help to lock in moisture, ensuring each bite is as indulgent as the first. Skip them for a cleaner taste, but you’ll miss that satisfying chocolate bite.
The Final Flourish
Eggs bind the batter, providing structure and helping the brownies rise slightly during baking. Two large eggs are ideal; fewer eggs will result in a crumbly texture, while more can make the brownies too dense. If you’re vegan, flaxseed meal mixed with water can replace eggs, but the final product will differ slightly.
Vanilla extract and baking powder are the subtle flavor enhancers that round out the profile. Vanilla adds warmth, while baking powder gives the brownies a gentle lift, preventing them from being overly dense. A pinch of sea salt balances the sweetness and brings out the chocolate’s richness. Adjusting these small details can transform the entire experience.
Everything’s prepped? Good. Let’s get into the real action…
The Method — Step by Step
- Preheat your oven to 350°F (175°C). Line an 8x8‑inch baking pan with parchment paper, leaving a slight overhang for easy removal. This ensures a clean release and prevents sticking. While the oven warms, gather all ingredients so everything is within arm’s reach.
- In a large mixing bowl, whisk together almond flour, whey protein powder, cocoa powder, baking powder, and sea salt until evenly combined. The dry mixture should look like fine sand. This step is crucial for an even distribution of flavors and to avoid clumps of protein powder.
- In a separate bowl, beat the eggs, maple syrup, melted coconut oil, and vanilla extract until the mixture is smooth and slightly glossy. The glossy texture indicates the fats and sugars have emulsified properly. Now it’s time to merge the worlds of dry and wet.
- Gradually pour the wet mixture into the dry mixture, stirring constantly with a silicone spatula. The batter should be thick but pourable; add a splash of milk if it’s too dry. Mix until there are no dry pockets—this ensures a uniform crumb throughout.
- Fold in the dark chocolate chips gently, distributing them evenly without overmixing. The chips will melt slightly during baking, creating pockets of molten chocolate that burst with flavor. This is the moment when the batter truly transforms into a dessert.
- Transfer the batter to the prepared pan, smoothing the top with the back of a spoon. Tap the pan lightly on the counter to release any air bubbles that may have formed. The batter should settle evenly across the pan.
- Bake for 28–30 minutes, or until a toothpick inserted into the center comes out with a few moist crumbs. The edges should look slightly darker, indicating proper caramelization. Don’t overbake, or the brownies will dry out.
- Once the timer clicks, remove the brownies from the oven and let them cool in the pan for 10 minutes. The cooling period allows the structure to set, making them easier to cut. During this time, the chocolate chips will firm up slightly, giving the brownies a pleasant bite.
- After 10 minutes, lift the brownies out using the parchment overhang. Transfer them to a wire rack to cool completely. The final aroma will fill your kitchen with a warm, chocolatey scent that lingers for hours.
- When the brownies are fully cooled, cut them into squares or bars. For a clean edge, use a hot knife dipped in warm water and wiped dry before slicing. This technique ensures crisp cuts and prevents the brownies from sticking to the knife.
- Store the brownies in an airtight container at room temperature for up to 3 days, or refrigerate for longer freshness. If you prefer a softer texture, let them sit at room temperature for 15 minutes before serving. Enjoy the balance of chewy center and crisp edges.
That's it — you did it. But hold on, I've got a few more tricks that'll take this to another level. The secret sauce is in the finishing touches and the storage techniques that keep the brownies fresh and flavorful for days.
Insider Tricks for Flawless Results
The Temperature Rule Nobody Follows
Many bakers bake at the recommended 350°F, but the key to fudginess is a slightly lower temperature of 325°F. This slower bake allows the brownies to set evenly without drying out. I’ve tested both temperatures; the lower one gives a more moist crumb and a richer chocolate aroma.
Why Your Nose Knows Best
When the brownies are baking, listen for the subtle shift in aroma. A faint, sweet, cocoa scent indicates the batter is cooking properly. If the smell is too sharp or metallic, the batter might be overcooked or the protein powder is reacting with the heat. Trust your nose; it’s a reliable guide.
The 5‑Minute Rest That Changes Everything
After removing the brownies from the oven, let them rest for exactly 5 minutes before cutting. This brief pause allows the interior to set, reducing crumbly edges. I’ve seen people cut immediately, only to find the brownies falling apart. The 5‑minute rest is the difference between a mess and a masterpiece.
Adding a Splash of Water for Reheating
When you’re ready to reheat a brownie, add a tiny splash of water to the top before microwaving. The steam will rehydrate the crumb, restoring the moist texture. This trick is especially useful for brownies that have been stored in the fridge for a few days.
Choosing the Right Protein Powder
Not all protein powders taste the same. Whey isolate provides a clean, sweet flavor, while concentrate may leave a slightly bitter aftertaste. If you’re sensitive to taste, opt for a protein powder labeled “baking friendly” to ensure it blends seamlessly with the cocoa.
Using a Silicone Baking Mat
A silicone mat prevents sticking and allows for even heat distribution. It’s also dishwasher safe, making cleanup a breeze. For a more traditional feel, parchment paper works well, but the mat adds a modern touch of convenience.
Creative Twists and Variations
This recipe is a playground. Here are some of my favorite ways to switch things up:
Nutty Crunch Edition
Swap the dark chocolate chips for chopped pecans or walnuts. The added crunch introduces a buttery flavor that pairs beautifully with the cocoa. Serve with a drizzle of almond butter for an extra protein boost.
Mocha Madness
Blend a tablespoon of instant espresso powder into the dry mix. The espresso amplifies the chocolate depth and gives the brownies a subtle coffee kick. Pair with a latte for a decadent dessert.
Berry Burst
Fold in a handful of fresh blueberries or raspberries before baking. The berries burst during the first bite, adding a tart contrast to the sweet, dense center. The color also makes the brownies visually striking.
Spiced Sensation
Add a pinch of cinnamon and a dash of cayenne pepper to the batter. The warmth of cinnamon complements the chocolate, while the cayenne adds a surprising heat that wakes up the palate. This version is perfect for autumn evenings.
Cheesecake Twist
Layer a thin slice of cream cheese on top of the batter before baking. The cheesecake layer creates a gooey, tangy center that contrasts the chocolatey exterior. Finish with a dusting of powdered sugar for a classic look.
Chocolate Peanut Butter Swirl
Swirl a spoonful of natural peanut butter into the batter just before baking. The peanut butter melts into pockets of nutty goodness, creating a delightful contrast. This version is a hit with peanut butter lovers.
Storing and Bringing It Back to Life
Fridge Storage
Place the cooled brownies in an airtight container and refrigerate for up to 3 days. The cold environment preserves moisture, preventing the brownies from drying out. When you’re ready to eat, let them sit at room temperature for 10 minutes to regain softness.
Freezer Friendly
Wrap each brownie individually in plastic wrap and then place them in a freezer bag. Freeze for up to 2 months. When you need one, remove a single piece, unwrap, and let it thaw on a plate. The texture remains intact thanks to the double wrapping.
Best Reheating Method
Microwave on medium power for 15–20 seconds, then check the moisture level. If it feels a bit dry, add a splash of water on top and microwave for an additional 10 seconds. The steam will bring the brownie back to its original fudgy consistency.